Understanding the MACD Indicator Guide
The Moving Average Convergence Divergence tool measures trend momentum. Traders rely on a comprehensive macd indicator guide to interpret price action accurately. Gerald Appel created this oscillator in the late 1970s. It calculates the difference between two exponential moving averages. You subtract the 26-period EMA from the 12-period EMA to find the main value. Building a strong foundation requires mastering these core technical analysis concepts.
Exponential moving averages place greater weight on recent price data. This weighting system makes the oscillator highly responsive to sudden market movements. Simple moving averages treat all historical data equally. The exponential calculation gives you faster signals during volatile trading sessions.
The indicator consists of three primary components:
- The Main Line: The result of subtracting the 26 EMA from the 12 EMA.
- The Signal Line: A 9-period EMA of the main line itself.
- The Baseline: The zero level separating positive and negative momentum.
How the MACD Indicator Guide Affects the Forex Market
Currency markets process trillions of dollars daily. A reliable macd indicator guide helps traders process this immense liquidity. The Bank for International Settlements reports global foreign exchange volume exceeds $7.5 trillion per day. Traders use momentum oscillators to track institutional money flows within this massive structure.
The indicator reacts directly to price velocity changes. When momentum accelerates, the moving averages diverge. When momentum slows, the moving averages converge. This mathematical relationship provides early warnings for potential trend reversals in major currency pairs. The EUR/USD and GBP/USD pairs often display clean technical patterns due to high trading volumes.
Market participants monitor specific alignment phases:
- Bullish convergence occurs when short-term averages cross above long-term averages.
- Bearish convergence happens when short-term averages drop below long-term averages.
- Overbought conditions appear when the lines separate significantly from the zero baseline.
- Oversold conditions manifest when the lines drop far below the zero baseline.
Key Data Points to Watch
Traders must monitor specific numerical outputs to execute precise entries. The indicator oscillates above and below a central zero line. This zero line acts as a primary trend filter. Readings above zero indicate upward momentum. Readings below zero signal downward pressure.
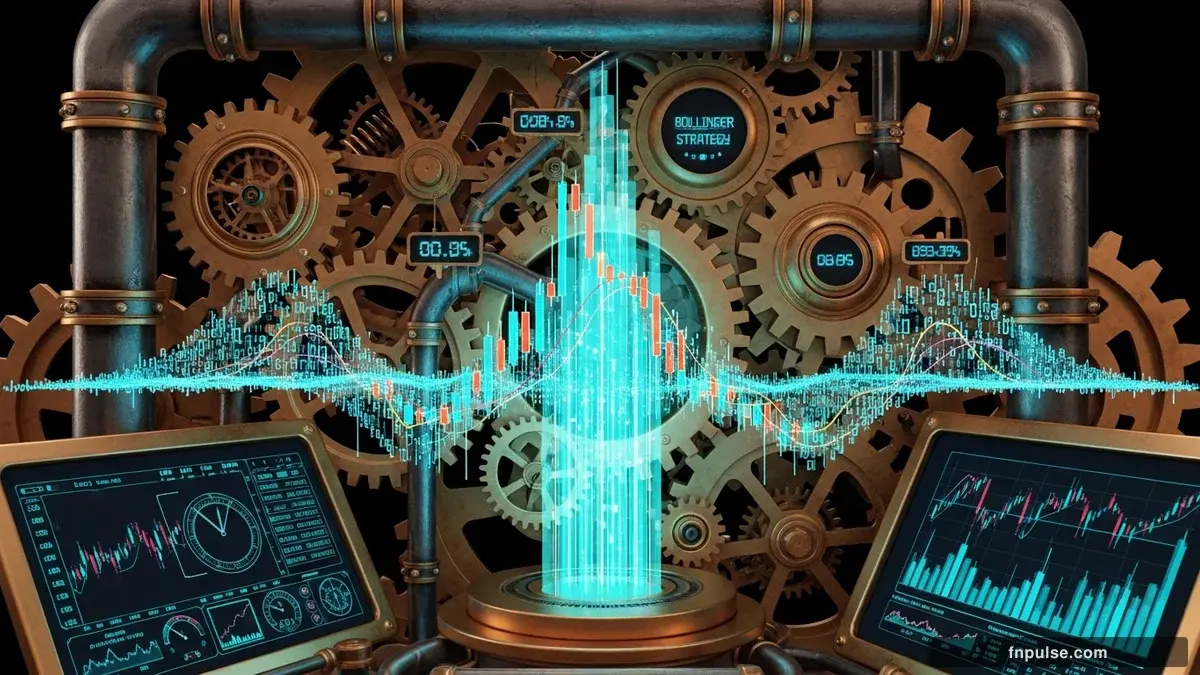
Reading the MACD Histogram
The MACD histogram provides immediate visual feedback regarding trend strength. Positive green bars form when the main line rises above the signal line. Negative red bars form when the main line falls below the signal line. Tall bars indicate strong momentum. Short bars suggest weak momentum. Traders watch for the bars to peak and begin shrinking. This shrinking phase often precedes a trend change.
Many modern charting platforms color-code these bars. Dark green indicates growing bullish momentum. Light green shows fading bullish momentum. Dark red signals growing bearish momentum. Light red points to fading bearish momentum. This visual aid accelerates your decision-making process.
Tracking the Signal Line
The 9-period signal line smooths out the raw data. It creates a secondary moving average for the oscillator itself. Modern traders combine these traditional readings with advanced tools. You will find improved accuracy by exploring AI-enhanced charting methods.
Key data points require strict attention:
- The absolute height of the histogram bars relative to past peaks.
- The slope angle of the main line during an active trend.
- The distance between the oscillator and the zero line.
- The frequency of crosses within a narrow trading range.
Trading Strategies
Trading financial markets involves significant risk of loss. Past performance provides no guarantee of future results. You must use strict risk management protocols on every trade. Never risk more capital than you afford to lose. Stop-loss orders remain essential for capital preservation.
Executing the MACD Crossover
The MACD crossover remains the most popular strategy among technical traders. A bullish cross triggers when the main line crosses above the signal line. A bearish cross triggers when the main line crosses below the signal line. You improve win rates by taking crosses only in the direction of the broader trend.
Trend-following traders wait for price to pull back. They ignore crosses against the primary trend. If the 200-period moving average points up, you only buy bullish crosses. You ignore all bearish crosses. This filtering process eliminates many false signals.
Trading Divergence
Divergence occurs when price action disagrees with the oscillator. Price makes a higher high. The oscillator makes a lower high. This bearish divergence signals exhaustion in the uptrend. Price makes a lower low. The oscillator makes a higher low. This bullish divergence indicates fading selling pressure.
Consider this chart example description for a standard divergence setup:
- Asset: EUR/USD 4-hour chart.
- Condition: Price hits a new swing low.
- Indicator: The oscillator forms a higher low.
- Action: Enter long upon a bullish signal line cross.
- Stop Loss: Place orders below the recent price swing low.
Multiple Timeframe Analysis
Professional traders analyze multiple timeframes simultaneously. They check the daily chart for the macro trend. They zoom into the 1-hour chart for execution. A daily bullish cross provides the directional bias. The 1-hour bullish cross provides the specific entry trigger. This top-down approach increases trade probability.
Historical Examples
Historical data proves the effectiveness of momentum tracking during major economic events. Central bank policy shifts create massive volatility spikes. The indicator captures these momentum shifts clearly.
In late 2022, the Bank of Japan intervened in the currency market to support the Yen. The USD/JPY pair experienced rapid declines. Before the intervention, the 4-hour chart showed massive bearish divergence. The price pushed to new highs near 151.90. The momentum oscillator printed significantly lower highs. Traders reading the technical analysis indicators correctly anticipated the reversal.
The US Federal Reserve interest rate cycle also provides clear examples. The Federal Open Market Committee raised rates aggressively throughout 2023. Each major rate hike triggered strong USD rallies. The indicator consistently printed zero-line rejections during these uptrends. The main line would pull back to the zero level, reject it, and cross bullishly again.
Historical analysis reveals specific performance metrics:
- Divergence signals perform best on daily and 4-hour timeframes.
- Zero-line rejections offer high-probability trend continuation entries.
- Fast crosses on 1-minute charts generate frequent false signals.
- High-impact news events often trigger immediate histogram color changes.
Common Mistakes to Avoid
Many novice traders misinterpret oscillator signals. They treat every cross as an immediate entry trigger. This approach leads to severe drawdowns during ranging markets. The indicator performs poorly when price chops sideways in a tight consolidation zone.
Traders often ignore the broader market context. A bullish cross in a strong macro downtrend carries low probability. You must evaluate market structure before trusting the oscillator. Support and resistance levels dictate where price will likely reverse. The oscillator simply confirms the momentum at these critical zones.
Another frequent error involves altering the default settings. Gerald Appel optimized the 12, 26, and 9 periods for specific reasons. These numbers capture short-term momentum shifts while filtering out market noise. Changing these inputs often curve-fits the indicator to past data. This curve-fitting ruins future performance.
Review these common pitfalls:
- Trading crosses in a sideways, ranging market.
- Ignoring major support and resistance levels.
- Taking counter-trend signals without divergence confirmation.
- Over-optimizing the indicator settings for specific timeframes.
Key Takeaways
Implement this tool into your daily trading routine immediately. Open your charting platform and apply the standard 12, 26, 9 settings to your favorite currency pair. Scroll back through six months of price action to identify historical crosses and divergence patterns.
Follow these exact steps for your next session:
- Identify the primary trend using a 200-period moving average.
- Wait for the oscillator to pull back toward the zero line.
- Enter your trade only after a confirmed signal line cross aligns with the main trend.
- Set your stop loss below the most recent structural swing point.
- Trail your stop loss when the histogram begins shrinking.